Every real estate investor eventually asks the same question: Does it make sense to invest in one of the most expensive housing markets in the world?
Expats looking to purchase a home in Singapore need to weigh high entry costs, government restrictions, and rental yields against long-term capital appreciation.
Is the price of entry worth it, or will your investment be eaten alive by taxes, cooling measures, and market fluctuations?
Key Highlights
- High property prices and strict foreign ownership laws create barriers.
- Long-term appreciation potential exists but comes with risks.
- Rental yields are low compared to other major markets.
- Cooling measures can impact resale and exit strategies.
- Pre-construction projects require careful vetting of developers.
What Expats Need to Know Before Purchasing a Home
Foreigners do not have free rein in the real estate market. Condominiums are the most accessible option since government restrictions make landed properties nearly impossible to acquire.
Prices remain high, but some projects offer better long-term value than others.
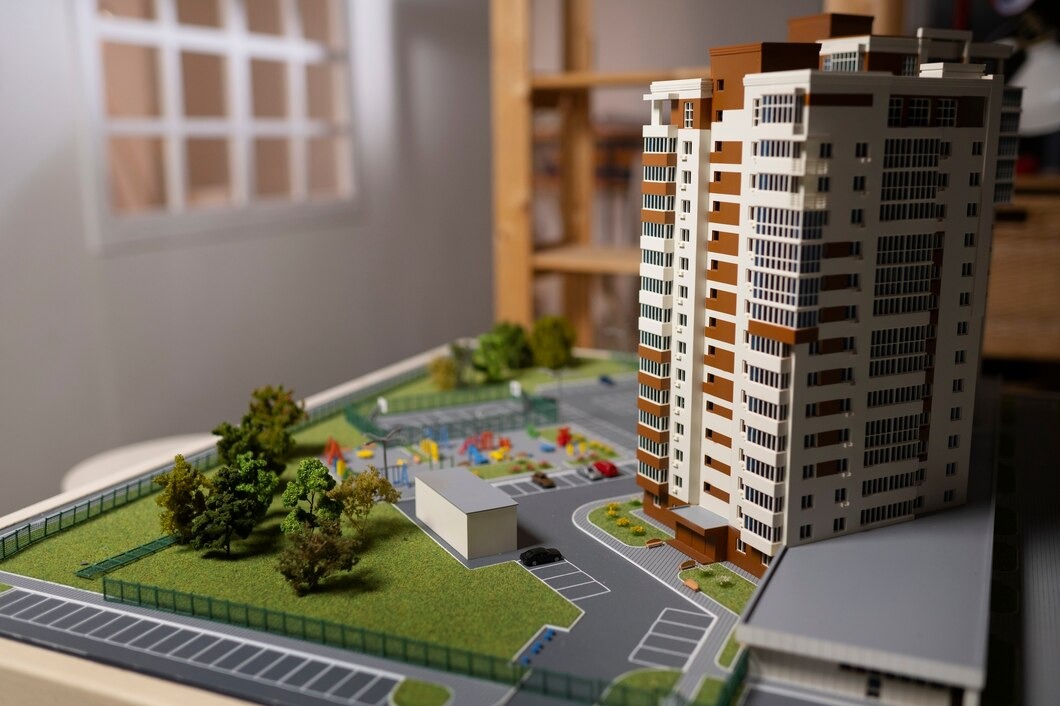
For those considering a condo investment, Nava Grove condo developments offer a prime location in District 21, combining modern living with nature.
The project spans three 24-storey towers with 552 apartments, featuring everything from two-bedroom units to expansive five-bedroom layouts.
Given the increasing demand in this area, it presents a compelling option for those set on making a long-term investment.
Expats must consider additional costs beyond the purchase price. Stamp duties, legal fees, and maintenance charges add up fast.
The resale market also has restrictions that affect exit strategies.
Buyers should assess whether they plan to stay in the country long enough to justify the investment or if renting would be the smarter option.
How the Government Controls the Market to Keep Prices in Check
Buying restrictions exist for a reason. The government has imposed cooling measures, such as Additional Buyer’s Stamp Duty (ABSD) and loan-to-value (LTV) limits, to prevent market overheating.
Expats are subject to a hefty 60% ABSD if purchasing a private residential unit, which significantly impacts affordability.
Beyond that, strict financing rules mean you need substantial cash reserves. Singaporean banks do not offer the same financing flexibility as those in Western countries.
High down payments and strict debt-to-income ratios make it harder to leverage borrowed funds.
Government intervention affects both pricing and liquidity. Investors who assume the market will always rise may be in for a shock.
Resale potential depends on future policy shifts, economic stability, and interest rates.

Can You Expect Rental Income That Justifies the Investment?
Rental yields are not spectacular. Average gross rental yields hover between 2.5% and 3.5%, which is lower than other major investment hubs.
If you plan to hold a property purely for rental income, you need a long-term view. The market does not favor quick profits through rental returns alone.
Expats who rely on rental income must carefully select properties that align with market demand. Some key considerations include:
- Proximity to MRT stations and business districts.
- Layouts that appeal to professionals and small families.
- Maintenance costs that do not eat into potential profits.
The tenant pool consists mostly of other expatriates. High rental costs limit demand, especially during economic downturns. Investors must plan for potential vacancy periods and price fluctuations.
Pre-Construction Properties: A Risky but Potentially Rewarding Move
Off-plan purchases can offer better pricing and capital appreciation, but they come with risks. Developer reliability matters more than anything. If the project faces delays or cancellations, your funds can be tied up for years.
Key factors to evaluate:
- Developer reputation and track record.
- Estimated completion time and potential delays.
- Projected rental demand and resale potential.
Not all pre-construction deals are equal. Some developers inflate pricing based on future market expectations, which do not always materialize.
A high-profile location does not guarantee strong returns. Market downturns can leave investors holding overpriced assets with no buyers in sight.
The Tax Implications of Property Ownership as an Expat
Taxation can be a deal-breaker. Apart from ABSD, property tax rates depend on whether you are using the unit for owner-occupation or renting it out.
Tax breakdown:
- Owner-occupied: Progressive rates from 0% to 23%.
- Non-owner-occupied: Progressive rates from 11% to 36%.
Long-term investors must also consider capital gains taxation in their home country. Singapore does not impose a capital gains tax, but your home country might tax the profits upon resale.
Holding costs are not limited to taxes. Monthly maintenance fees, insurance, and upkeep expenses must be factored in. Those who underestimate these expenses may struggle to turn a profit.
Should You Buy or Stick to Renting?
Ownership is not always the smarter financial move. Renting provides flexibility and eliminates the risks tied to market fluctuations. Many expats prefer leasing due to the high upfront costs of homeownership.
Consider renting if:
- You plan to stay for less than five years.
- You prefer financial liquidity over asset ownership.
- You want to avoid exposure to market downturns.
Long-term stability is the main advantage of ownership. Those who buy with a 10- to 20-year horizon may benefit from price appreciation.
However, those looking for short-term gains may be disappointed. Market cycles do not always favor quick resale opportunities.

Resale Potential: Can You Sell Without Taking a Loss?
Exit strategy is everything. The resale market fluctuates due to cooling measures and economic shifts. Buyers who enter at the wrong cycle may struggle to sell at a profit.
Tips for a successful resale:
- Buy in locations with high demand.
- Target properties near MRT stations and business hubs.
- Avoid new developments in oversupplied areas.
- Work with agents who specialize in foreign-owned properties.
- Time the market to sell during an upswing rather than a downturn.
Liquidity matters. If you need to sell fast, lower demand areas will make it harder to find a buyer. Investors must weigh the risks of holding an asset that may take years to appreciate.
Conclusion
Foreign investors need to assess every angle before making a purchase. If you are willing to absorb the high costs, Singapore offers stability and long-term appreciation potential.
However, the entry barriers and taxation policies make it an investment that requires careful financial planning.
Expats must decide if tying up capital in a slow-yielding asset fits their financial goals. If not, renting remains a viable alternative that keeps options open.